

Purfling is the decorative inlay common on violin family instruments. It is a craft that I struggle a bit with! I can manage the basics but I still don’t come anywhere near the level of quality that the best violin makers do. On the other hand, London Viol makers of the 17th and 18th Centuries were quite fast and certainly not perfectionist in their purfling, so there is precedent.
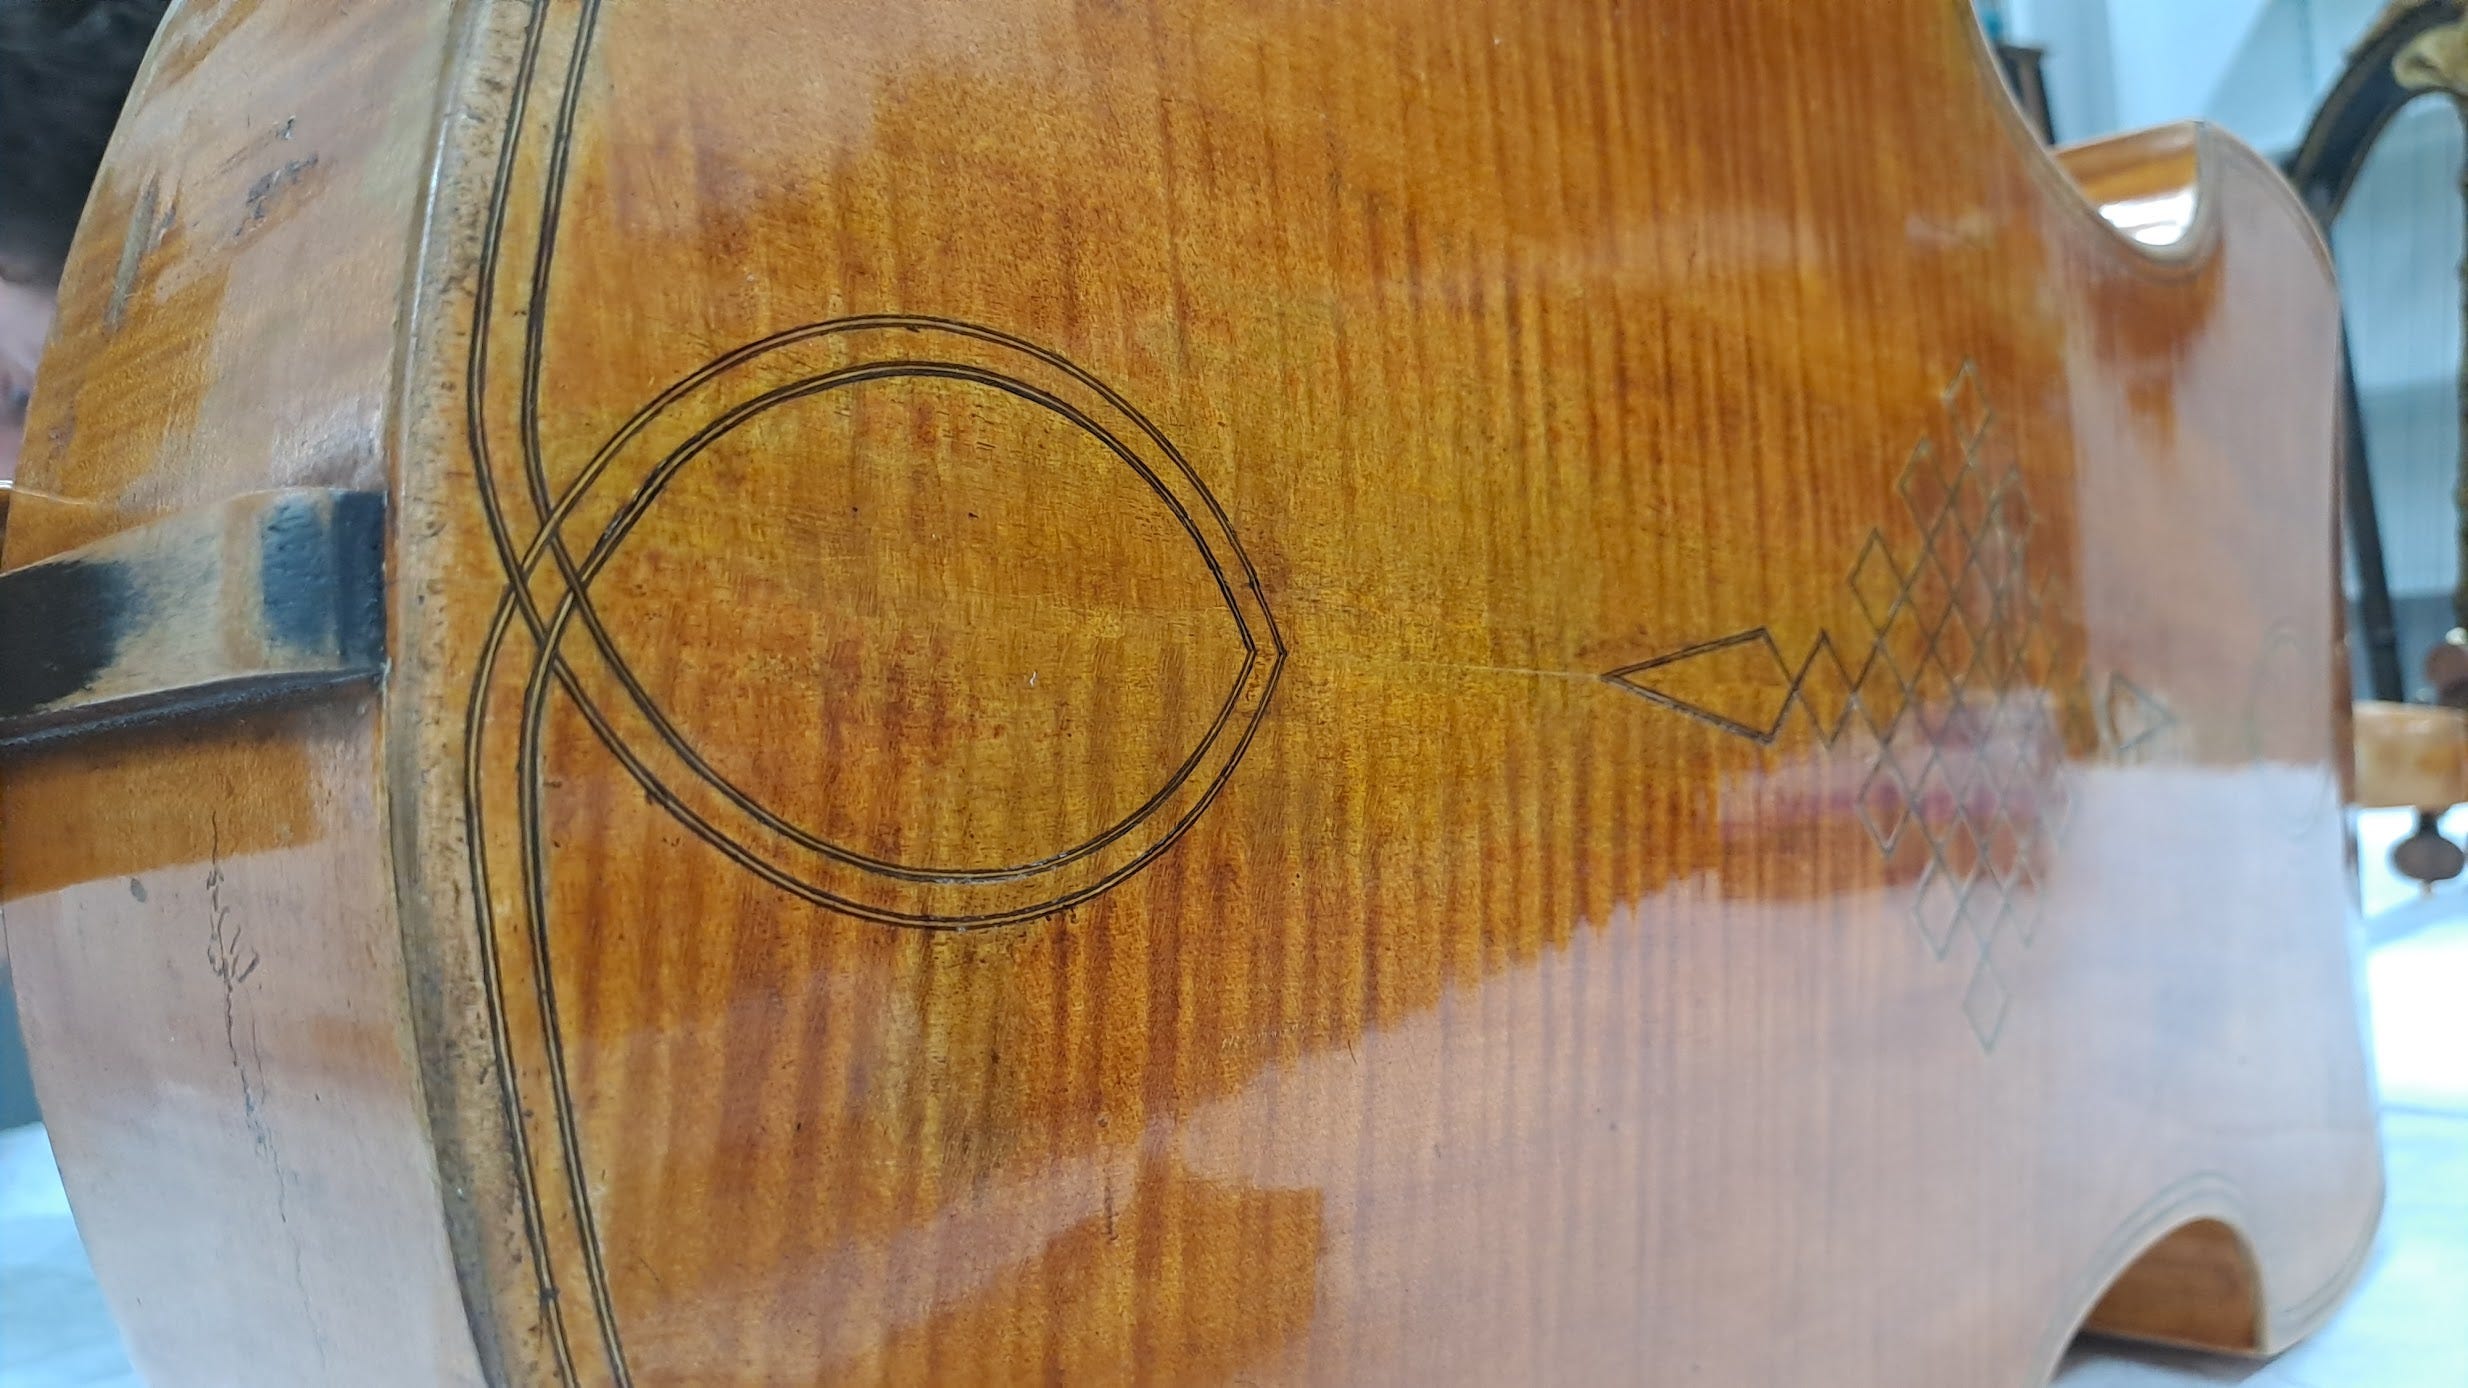
Violin purfling mainly follows the edge of the instrument, but baroque instruments often have extravagant purfling on backs, fronts, ribs and fingerboards, commonly in geometric shapes.
What is purfling for? Well firstly, it highlights the edge of the instrument beautifully. Secondly, edge purfling has an important function: it stops cracks from spreading from the edge of the instrument into the main body of the top and back plates.
For violin family instruments, there is an interesting aspect that it is usually placed right over the ribs, and some luthiers speculate that as the purfling ages and the glue weakens this frees up the top to vibrate more easily. An intriguing thought.
The Salter that I’m making originally had “inked-on” purfling. This is simply inscribed in ink rather than inlayed. This is purely decorative and is traditionally seen on cheaper instruments, but this is at odds with the ivory fingerboard and inlay, as well as the silver plaque that holds on the tailpiece.

We can only speculate why Perry didn’t use inlayed purfling on his Salters but John Rice in his dissertation on Perry (PDF) believes that he was “never quite comfortable in the laying down of purfling”. I decided to use inlayed purfling because of the functional aspects and also because I don’t believe I’d get a neat job using ink. Honestly though, I couldn’t bring myself to copy an approach that strikes me as a bit cheap.
In fitting purfling, there are really two different aspects - edge purfling and non-edge purfling. Edge purfling is marked using a tool called a “purfling marker” or gramil.
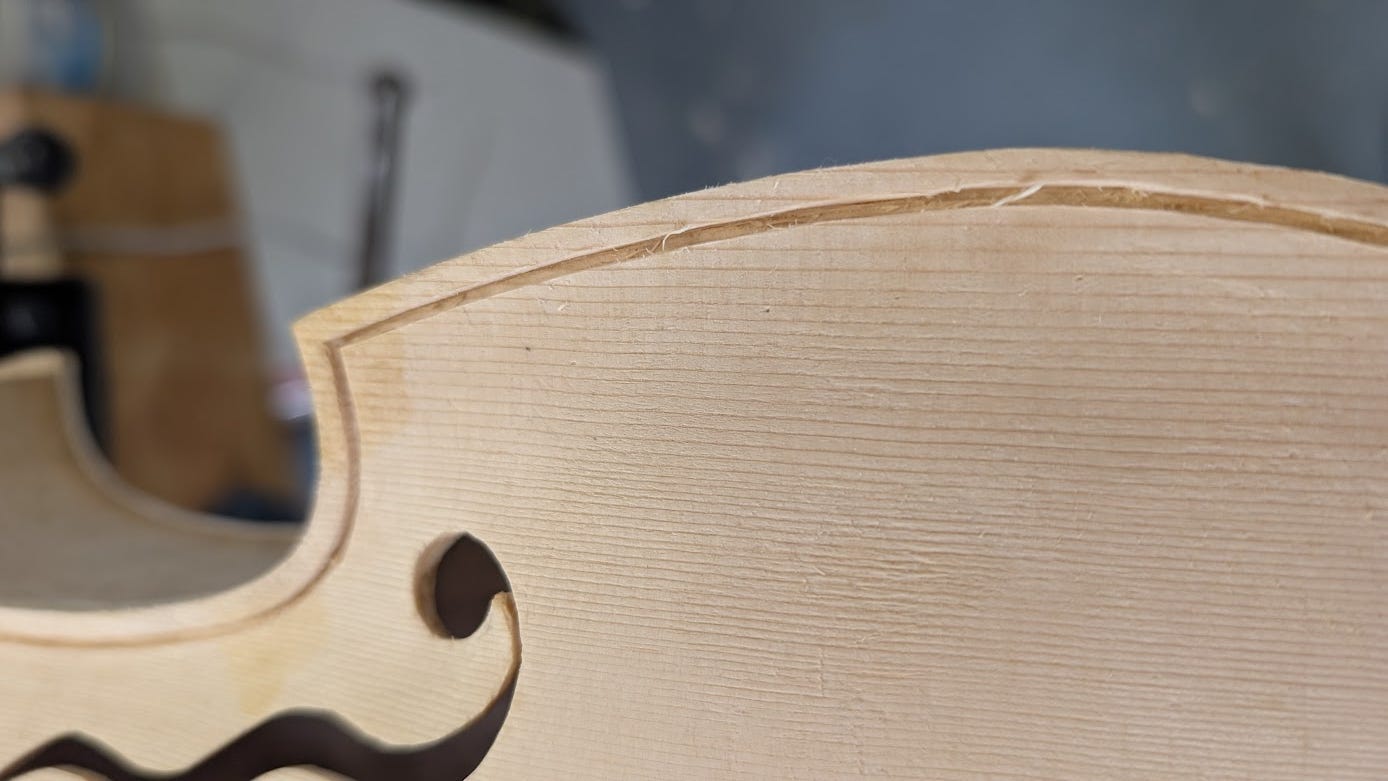
This allows you to follow the edge of the instrument and mark two lines a set distance from the edge, usually a few mm inside. Don’t be fooled by two things:
Its not that easy. Even with the tool you need to be careful to make sure the knives are always held at right angles to the edge’s tangent. It is easy to angle the tool and cut slightly closer to the edge than wanted, especially on spruce where the grain can pull the knives astray.
It is not designed as a purfling cutter but a purfling marker. Once you mark the lines, you need to carefully go over them with a knife until there is a cut deep enough (say 1mm). One of our tutors (Shem) has an interesting approach where he does cut the purfling channel with the marker tool, but that is a unique technique and I haven’t mastered it.

Most modern violin makers purfle the violin plates off the body, sometimes before they have fully carved the plates. This doesn’t work on viols because there is no overhang and so one needs to attach the plates to the ribs before establishing the edge and then marking the purfling. Of course you can purfle the ribs, the middle of the back, etc (non-edge purfling) before assembling the body.
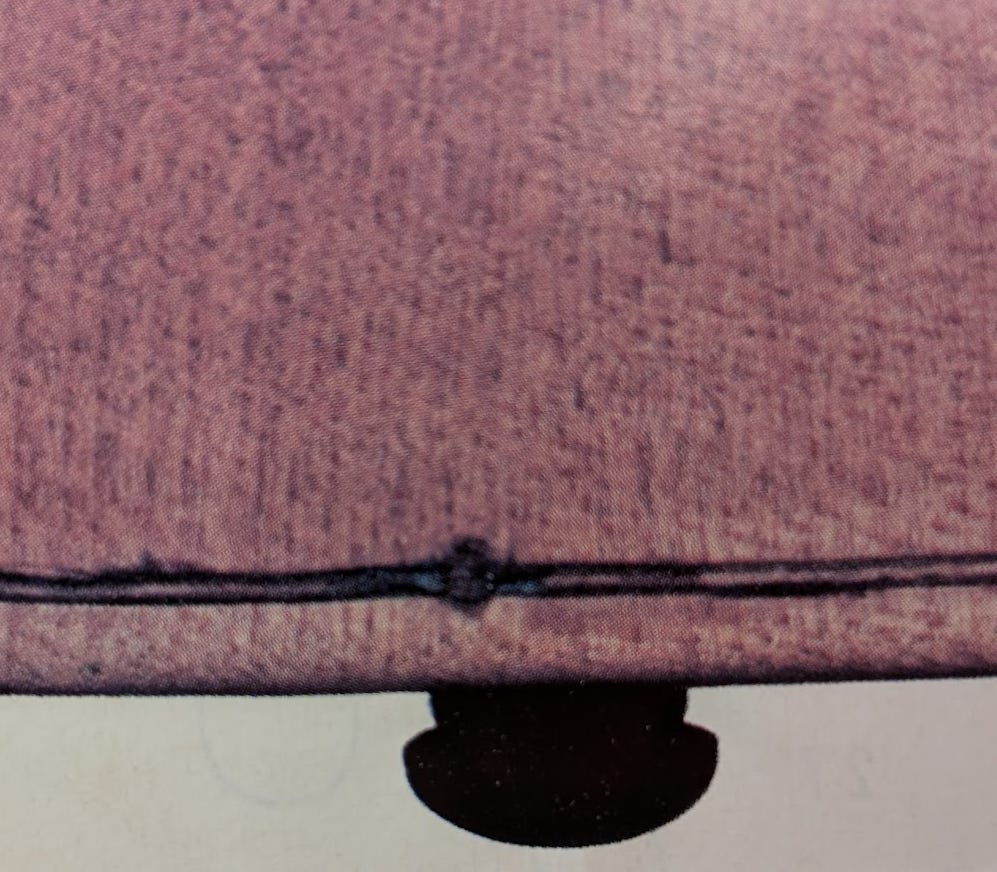
We know that Strad and his contemporaries purfled the edges after assembling the body because the purfling covers the locator pins. I personally prefer to put the body together and establish the edges completely before purfling.
I normally do the back purfling before the front, because although the maple is harder to cut, it is easier to get an accurate line. The soft wood of the front has big differences between the winter and summer grain and it is easy to go astray. A useful tool is a knife with a rounded end (nicknamed “Bob” in our workshop). Bob is made from a lathe parting tool and you can roll it over the wood along the marked line, avoiding the blade following the grain, but cutting through the grain instead.

One useful thing is when you do make a mistake, especially when marking the lines originally, just rub some hide glue or white glue (Titebond) into the area. This swells the grains and fills the mark up. With Titebond you can wait 15 minutes and remark. If you are careful, the tool won’t follow the incorrect lines and you will end up with a good mark.
It can also help to stop the spruce breaking out at the weakest points to size the end grain in hide glue before starting. I usually have to do several minor repairs as I go.
Once the lines are marked and cut to depth, you need to chase out the channel with a tiny chisel known as a purfling pick. This is a misleading name…. you should use it like a chisel to chase out the channel and not “pick” out the wood.
You can make these from an old narrow chisel or buy them.

Once the channel is chased out, you can start to carefully fit the purfling. I have made purfling before, but homemade purfling is a tricky beast. Some makers fit individual lines of black, white, black veneers (also tricky!). On this instrument I bought ready-made purfling and fitted it.

I get the purfling fully dry fitted with all the corners neatly mitred before attempting to glue anything. I remove each piece bit by bit. I use a syringe which I fill with hot hide glue and then use to carefully spread the glue into the channel, and then refit the purfling, making sure the mitres are as neat as possible.
Then comes the most fun part, using a gouge and then scraper to cut back the excess purfling and seeing what the result is.

On the back I marked a simple design to avoid the button area. This is because I think Perry got away with a tricky area by inking it and I don’t believe that the same design will work well with real purfling.

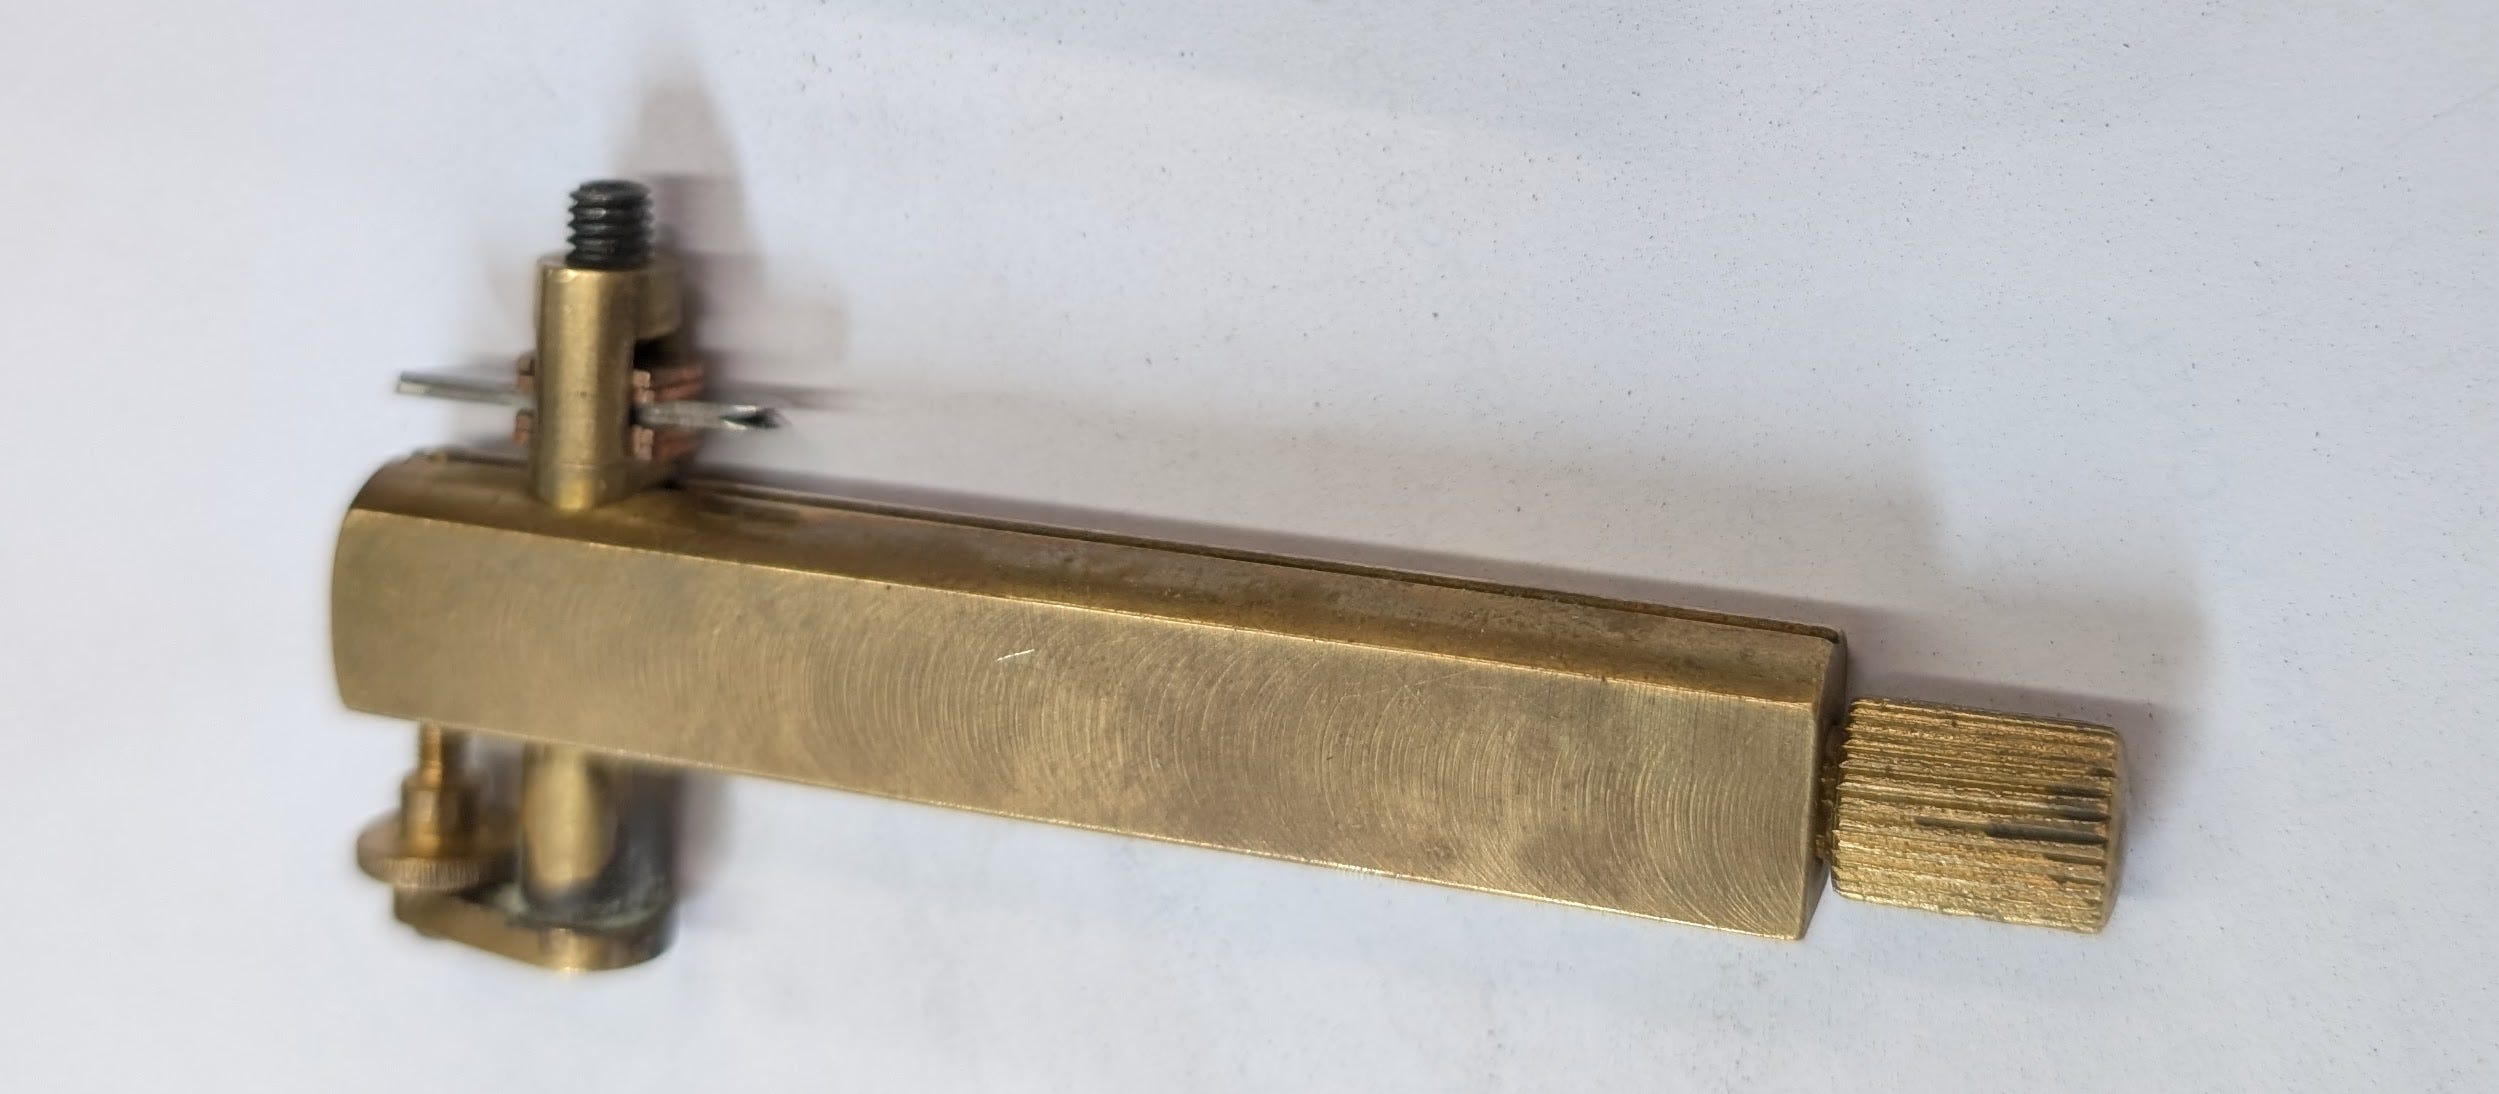
In going away from the edge, you need to mark out the purfling lines either freehand, with a ruler or some other approach. For this, I modified a pair of dividers to mark arcs.


This is a useful tool that I made for purfling away from the edge. Once you mark one line you can then set this up so that one blade is a fraction out from the other blade. This lets you fit the longer blade in the marked line and then mark the second line exactly the right distance apart. Be careful when marking geometric patterns to know where the centre line of the purfling is and where the sides are (don’t mark the centres and then cut along that line or it will go wrong!).

I hope that has been an interesting discussion of my approach to purfling.
Fascinating!
very clever stuff and an interesting post on a difficult subject. Have you tried printing the off-the-edge work decoration on thin paper and gluing it to the area that needs to be cut? The paper ensures that the knife cuts cleanly and the paper stops the small parts from chipping. Afterwards the paper can be removed with a scraper. Don't forget to dampen the paper before gluing it in place or it will expand and wrinkle. School glue works well to stick the paper to the wood's surface, but the wood should have its first ground coat or the glue may block the pores of the wood and leave a veil of a stain after varnishing